A fresh coat of paint is one of the fastest ways to make a home feel new again — new energy, new mood, sometimes it even feels like a different house altogether. But before you get carried away picking that perfect shade, there are a handful of practical things worth sorting out first. Skip them, and you’ll likely end up redoing work you just paid for.
TIP 1 – Don’t Skip Wall Prep
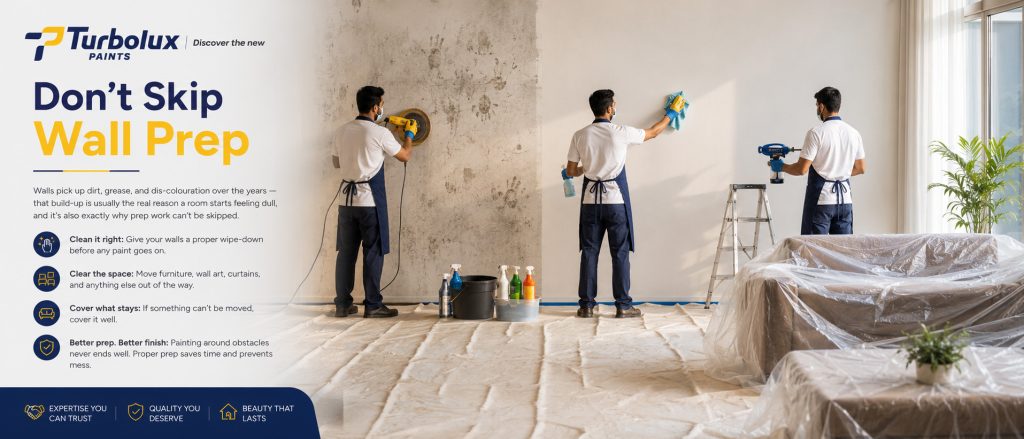
Walls pick up dirt, grease, and dis-colouration over the years — that build-up is usually the real reason a room starts feeling dull, and it’s also exactly why prep work can’t be skipped. Give your walls a proper wipe-down before any paint goes on, and clear the room out as much as you can. Furniture, wall art, curtains — move it all elsewhere or cover it well. Painting around obstacles never ends well; it just slows everyone down and increases the odds of a mess landing somewhere it shouldn’t.
TIP 2 – Pay Attention to the Weather
Why It Matters
Not every paint performs the same way in every season, and this is one detail people tend to overlook until it’s too late. Extreme heat can make paint dry too fast and show brush marks; too much humidity or cold can leave it tacky for way longer than expected.
What to Do
If you’re painting exteriors, keep a close eye on the forecast —a sudden shower on wet paint can undo hours of work in minutes. Where possible, pick a stretch of mild, dry weather for the job, and always check the ideal application conditions
mentioned on your paint can before you start.

TIP 3 – Never Underestimate a Good Primer
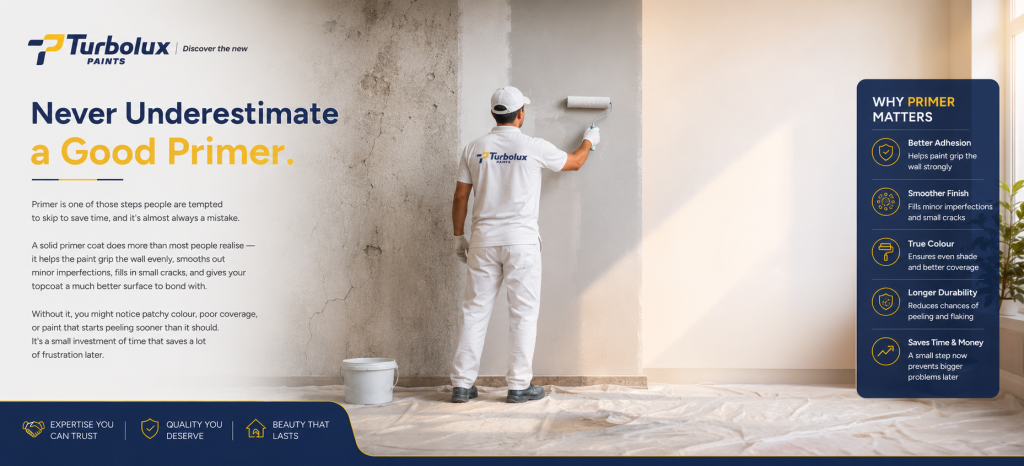
Primer is one of those steps people are tempted to skip to save time, and it’s almost always a mistake. A solid primer coat does more than most people realise — it helps the paint grip the wall evenly, smooths out minor imperfections, fills in small cracks, and gives your topcoat a much better surface to bond with. Without it, you might notice patchy colour, poor coverage, or paint that starts peeling sooner than it should. It’s a small investment of time that saves a lot of frustration later.
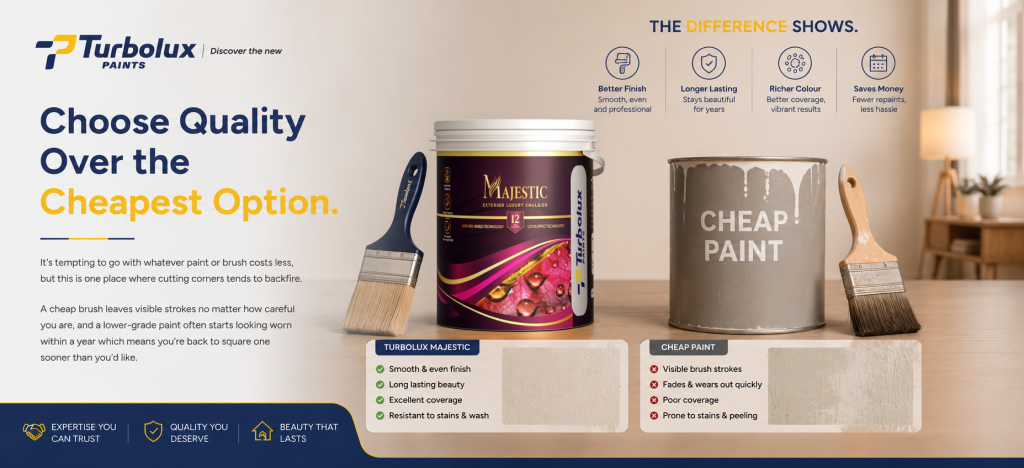
TIP 4 – Choose Quality Over the Cheapest Option
It’s tempting to go with whatever paint or brush costs less, but this is one place where cutting corners tends to backfire. A cheap brush leaves visible strokes no matter how careful you are, and a lower-grade paint often starts looking worn within a year which means you’re back to square one sooner than you’d like.
TIP 5 – Get the Technique Right
Technique makes a bigger difference than people expect.
1- Top to Bottom
Always start from the top and work your way down — ceiling first, then walls — so any drips land on unpainted surface rather than something you’ve already finished.
2- Work from Wet Edge to Wet Edge
Try to paint from one wet edge into another to avoid visible lap marks; if that’s not possible, wait until the surface has dried before picking up where you left off.
3- Finish with a Roller
Once you’ve brushed on the paint, going over it with a roller helps even everything out into a smooth, uniform finish rather than a streaky one.

TIP 6 – Patience Really Does Pay Off
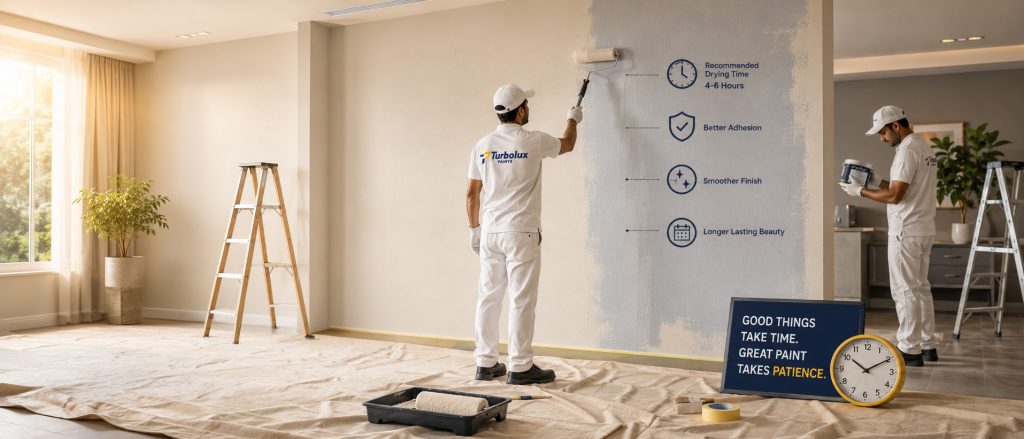
This is the step most people struggle with. Watching paint dry is genuinely boring, and there’s always a temptation to rush in with a second coat before the first one has properly set. Resist it. Every can lists a recommended drying time for a reason — rushing this step is one of the most common causes of an uneven, patchy final finish. Give each coat the time it needs, even if it means walking away and coming back the next day.
The Golden Rule – Give each coat the full recommended drying time. Rushing is the most common cause of an uneven, patchy finish.
TIP 7 – Decide: DIY or Call in a Professional?
If you’ve got the time, the patience, and a genuine interest in doing it yourself, painting your own home can be a satisfying project. But it’s worth being honest about how much time and effort it actually takes — most DIY painting jobs run longer than people initially expect, and a shaky finish can be more expensive to fix than it would have cost to get right the first time.

Before You Pick Up That Brush.
Painting a house is one of those projects that looks simple on the surface but rewards a bit of planning. Keep this checklist handy to save time, money, and frustration — and get a finish that actually lasts.
Clean your walls properly
Watch the weather
Don’t skip the primer
Invest in decent paint and tools
Use the right technique
Give every coat the time it needs to dry
Quick FAQs
How long should I wait between paint coats?
This varies by paint type, so always check the can — but as a general rule, give the first coat enough time to fully dry before applying the second. Rushing this step is one of the biggest causes of an uneven finish.
Is primer really necessary before painting?
Yes. Primer helps the topcoat adhere properly, evens out the surface, and improves how long your paint job lasts —skipping it usually shows up as patchiness or early peeling.
What’s the best weather for exterior painting?
Mild, dry conditions work best. Avoid painting in extreme heat, high humidity, or right before expected rain, since all three can affect how the paint sets.
Should I paint the ceiling or walls first?
Ceiling first, then walls. This top-to-bottom order means any drips fall on a surface you haven’t finished yet.
Is it worth hiring a professional painter instead of doing it myself?
If you’re short on time or unsure about technique, yes — a professional service usually delivers a more even, longer lasting finish and saves you the cost of redoing a shaky DIY job.