Half of all site arguments start here. Putty and primer do different jobs, and the order you apply them decides how long your paint lasts.
Short answer: Primer goes first. On new plaster the proven sequence is one coat of cement primer, then two thin coats of wall putty, sand smooth, then one more coat of primer, then two coats of emulsion. The first primer coat seals dusty, porous plaster so the putty actually bonds; the second primer coat seals the putty so the emulsion covers evenly and does not flake.
What does wall putty actually do?
Wall putty is a fine white cement-polymer filler. Its only job is smoothness: it fills pinholes, hairline cracks, trowel marks and minor undulations so light rakes across the finished wall without showing defects. Two thin coats, sanded flat, turn ordinary plaster into the glass-smooth base that premium interior emulsions need. Putty adds no waterproofing and no adhesion power of its own, which is exactly why it must never be the first layer on bare plaster.
What does primer actually do?
Primer is the bonding and sealing layer. On bare plaster it locks down surface dust, seals the pores, resists the alkalinity of fresh cement and evens out absorption. Over putty it does the same job again: putty sanded smooth is chalky and absorbent, and emulsion applied directly onto it covers poorly and can flake off at the putty layer. If you want the full case for priming, read Do You Really Need a Primer Before Painting?
So what goes first: putty or primer?
Primer first, always. Think of it as a sandwich: primer, putty, primer.
- Primer coat 1 (on bare plaster). Seals dust and pores so the putty grips the wall instead of a powder layer. Putty applied on unprimed plaster is the classic cause of sheets of putty and paint peeling together.
- Putty, 2 thin coats. Fill and level, let each coat harden, then sand smooth and dust off completely.
- Primer coat 2 (on sanded putty). Seals the chalky putty surface, restores uniform absorption and gives the emulsion its final grip.
On rough-textured exteriors where you skip putty entirely, the answer is even simpler: primer, then paint. The complete wall-by-wall process is in How to Prepare New Plaster for Painting.
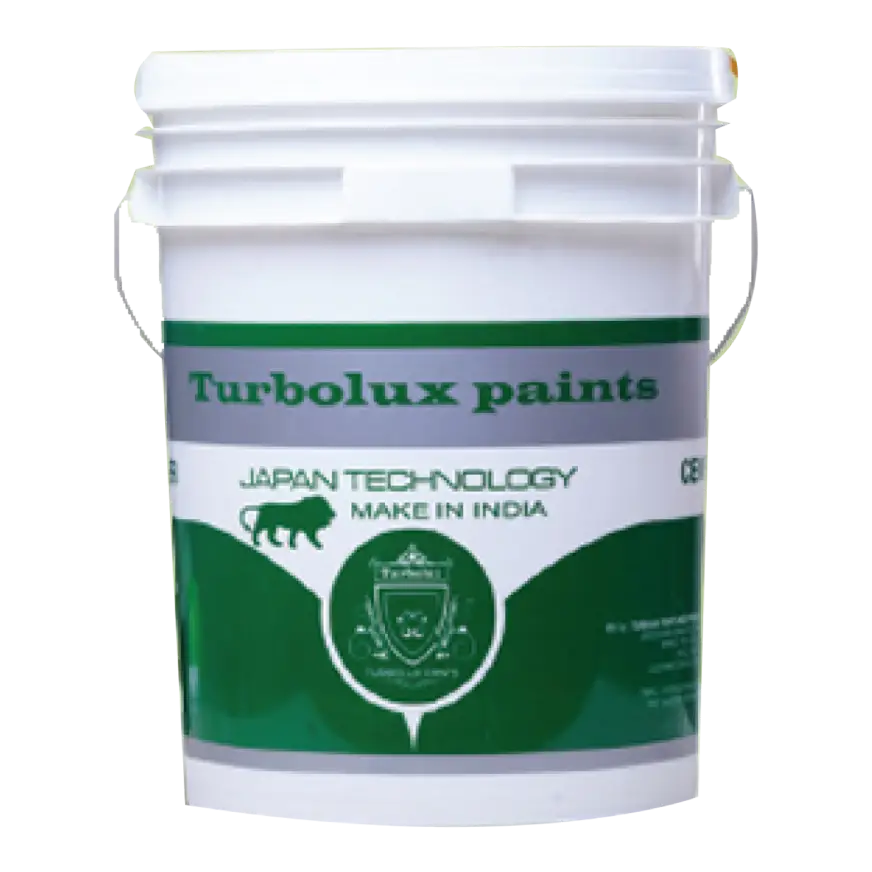
Fills cracks and dents for a smooth base before painting.
Smooth BaseView Wall Putty →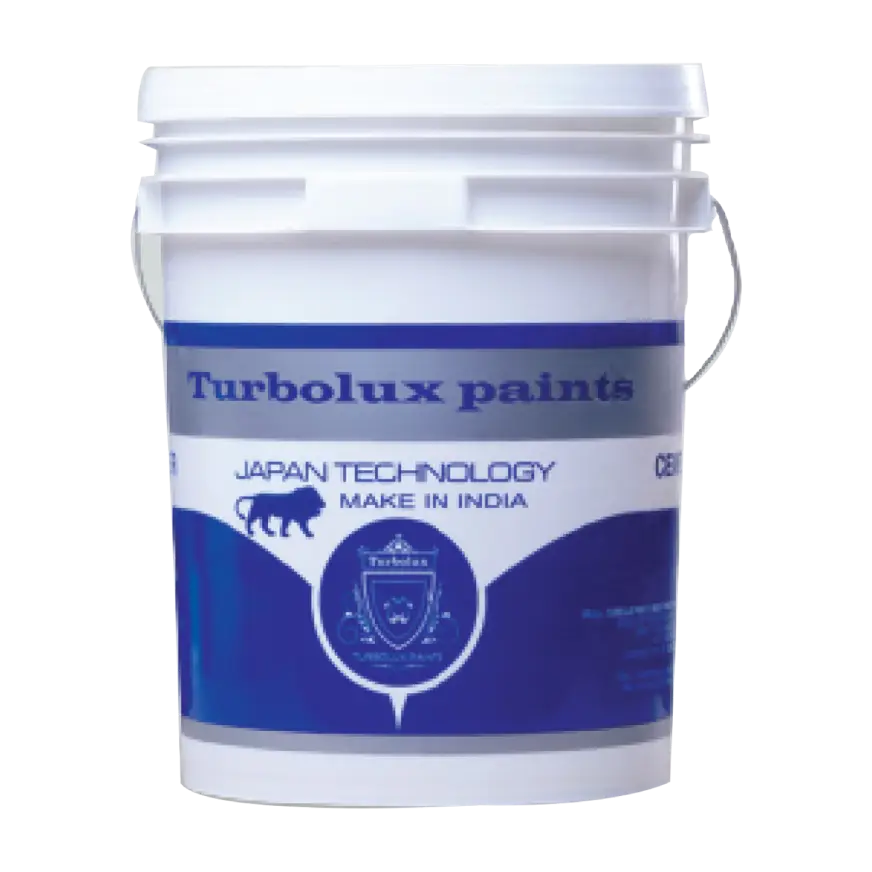
A water-based undercoat that improves adhesion and coverage.
Water-Based UndercoatView Interior Primer →A water-based fast-drying primer for exterior walls.
Fast-Drying UndercoatView Exterior Primer →What is the full painting system on a new wall?
| Order | Layer | Purpose | Wait before next step |
|---|---|---|---|
| 1 | Cement primer, 1 coat | Seal bare plaster, bond base for putty | 4 to 6 hours |
| 2 | Wall putty, coat 1 | Fill defects and level | 4 to 6 hours |
| 3 | Wall putty, coat 2 | Final smoothing | Overnight, then sand |
| 4 | Primer, 1 coat | Seal chalky putty, even absorption | 4 to 6 hours |
| 5 | Emulsion, coat 1 | Colour and protection | 4 to 6 hours |
| 6 | Emulsion, coat 2 | Full coverage and final finish | Done |
What are the most common putty and primer mistakes?
- Putty directly on bare plaster. It bonds to dust, not the wall, and later peels in sheets along with the paint.
- Skipping the second primer coat. Emulsion on raw putty covers poorly, needing an extra topcoat that costs more than the primer would have.
- Thick putty coats. Anything beyond about 1.5 mm per coat shrinks and cracks. Two thin coats always beat one thick one.
- Sanding too early. Putty must harden fully, or sanding tears the surface instead of smoothing it.
- Using putty to fix damp walls. Putty is not waterproofing. Fix seepage first with a proper damp-proof system like Aqua Seal, or the patch returns through the new paint.
Frequently asked questions
Can I apply wall putty without primer?
You can, but you should not on bare plaster. Unprimed plaster is dusty and porous, so the putty bonds weakly and the whole layer can peel later. One primer coat first makes the putty stick properly.
Is primer needed after putty?
Yes. Sanded putty is chalky and absorbent. A primer coat over it seals the surface, improves emulsion coverage and prevents flaking at the putty layer.
How many coats of putty are needed?
Two thin coats is standard. The first fills, the second levels. Keep each coat under about 1.5 mm and sand only after it has fully hardened.
Can putty stop dampness or leakage?
No. Putty is a cosmetic filler. Damp patches need the water source fixed and a waterproof barrier coat; putty over dampness simply bubbles and falls off.
Is white cement the same as wall putty?
No. White cement is a binder; wall putty is a formulated blend of white cement and polymers designed to fill, level and sand smoothly. Putty gives a far better base for paint.
Smooth walls start with the right order
Ask Turbolux for the right putty and primer system for your home.
Find your Turbolux paint →Made in Kerala for Kerala’s climate.