Why hairline cracks appear, and the right way to fill and paint over them for good.
Short answer: Hairline cracks are thin surface cracks in plaster or paint caused by drying shrinkage, heat and moisture movement, or a weak paint film. To fix them, widen the crack slightly, clean it out, fill with wall putty, sand smooth, prime, and repaint with a flexible emulsion. Painting straight over a crack without filling it will only let it reappear. For walls that keep cracking, a flexible, crack-bridging exterior emulsion like Majestic is the long-term answer.
What causes hairline cracks on walls?
Most hairline cracks are surface-level and come from movement, not structural failure. New plaster shrinks as it dries and fine cracks form. In Kerala, daily heating and monsoon moisture make walls expand and contract, and a rigid or old paint film cracks along the stress lines. Poor surface prep, skipping primer, over-thick putty, or painting on a damp wall all make cracking more likely. Cracks that follow the plaster are cosmetic, while wide cracks that keep growing, run in steps, or appear with sagging need a structural check first.
Do hairline cracks matter?
A thin hairline crack is mostly a cosmetic problem, but outdoors it becomes a doorway for water. Rain seeps into the crack, spreads behind the paint, and leads to dampness, peeling and algae. That is why you should fill exterior cracks before the monsoon rather than leave them. Indoors they are less urgent, but filling them gives a smooth, clean finish.
How do you fill and paint over hairline cracks?
Work in order and do not rush the drying between steps.
| Step | What to do |
|---|---|
| 1. Open the crack | Widen it slightly into a shallow V with a scraper so filler can grip inside, not just sit on top. |
| 2. Clean | Brush out dust and loose bits. The crack must be dry and free of flaking paint. |
| 3. Fill | Press wall putty firmly into the crack, then level it flush with the surface. |
| 4. Dry and sand | Let it dry fully, then sand smooth so the repair blends into the wall. |
| 5. Prime | Apply primer over the filled area so the topcoat sits and cures evenly. |
| 6. Repaint | Finish with two coats of a flexible emulsion, feathering into the surrounding wall. |
Which products do you need?
Use Wall Putty to fill and level the cracks and give a smooth base. For the topcoat, a flexible, crack-resistant emulsion matters most: Majestic carries a crack-resistant film that bridges fine surface movement, so repairs stay hidden longer on exterior walls.
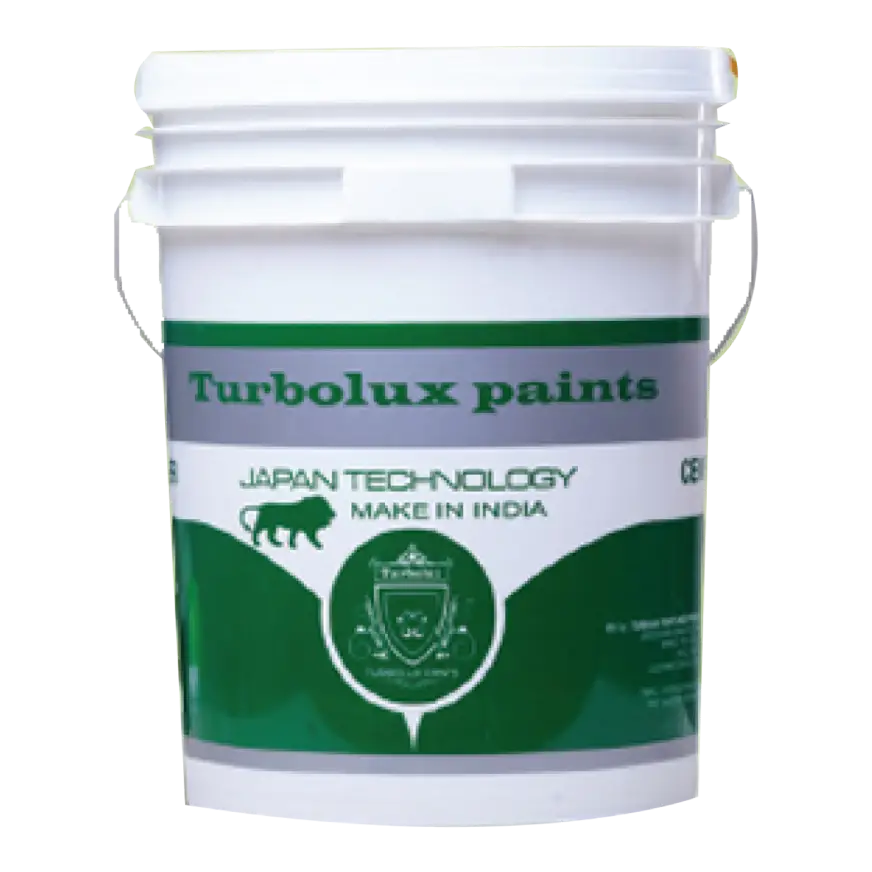
Fills cracks and dents for a smooth base before painting.
Smooth BaseView Wall Putty →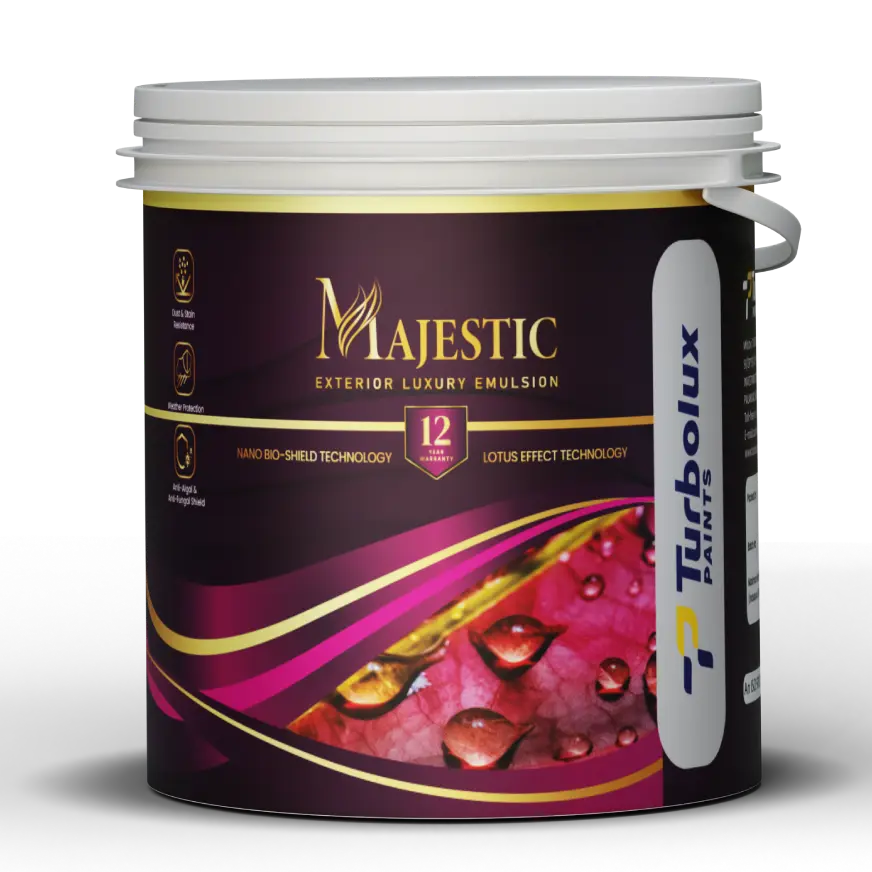
Lotus Effect self-cleaning, Nano Bio-Shield and a crack-resistant film.
12-Year WarrantyView Majestic →How do you stop hairline cracks coming back?
Always prime before the topcoat, never skip the putty stage, and let new plaster cure fully before painting. Choose a flexible emulsion that can move with the wall instead of a brittle finish. For related prep, read how to prepare new plaster for painting and wall putty vs primer: what goes first.
Frequently asked questions
Can I just paint over a hairline crack?
No. Paint alone will not hold the crack together and it will reopen. You must widen, fill with putty, sand, prime, then repaint for a lasting fix.
What is the best filler for hairline cracks?
Wall putty works well for fine surface cracks. Press it into the opened crack, level it flush, let it dry, then sand smooth before priming.
Why do hairline cracks keep coming back?
Usually because the wall moves with heat and moisture and the paint is too rigid, or the crack was painted over without filling. A flexible, crack-resistant emulsion and proper filling stop the cycle.
Are hairline cracks a structural problem?
Fine surface cracks are usually cosmetic. Wide cracks that keep growing, run in a step pattern, or come with sagging or bulging should be checked by a professional before painting.
Should I fix exterior cracks before the monsoon?
Yes. Outdoor hairline cracks let rain seep behind the paint and cause dampness and peeling, so fill and seal them before the rains arrive.
Cracks reappearing every year?
Fill them properly and finish with a flexible Turbolux emulsion built for Kerala walls.
Find your Turbolux paint →Made in Kerala for Kerala’s climate.