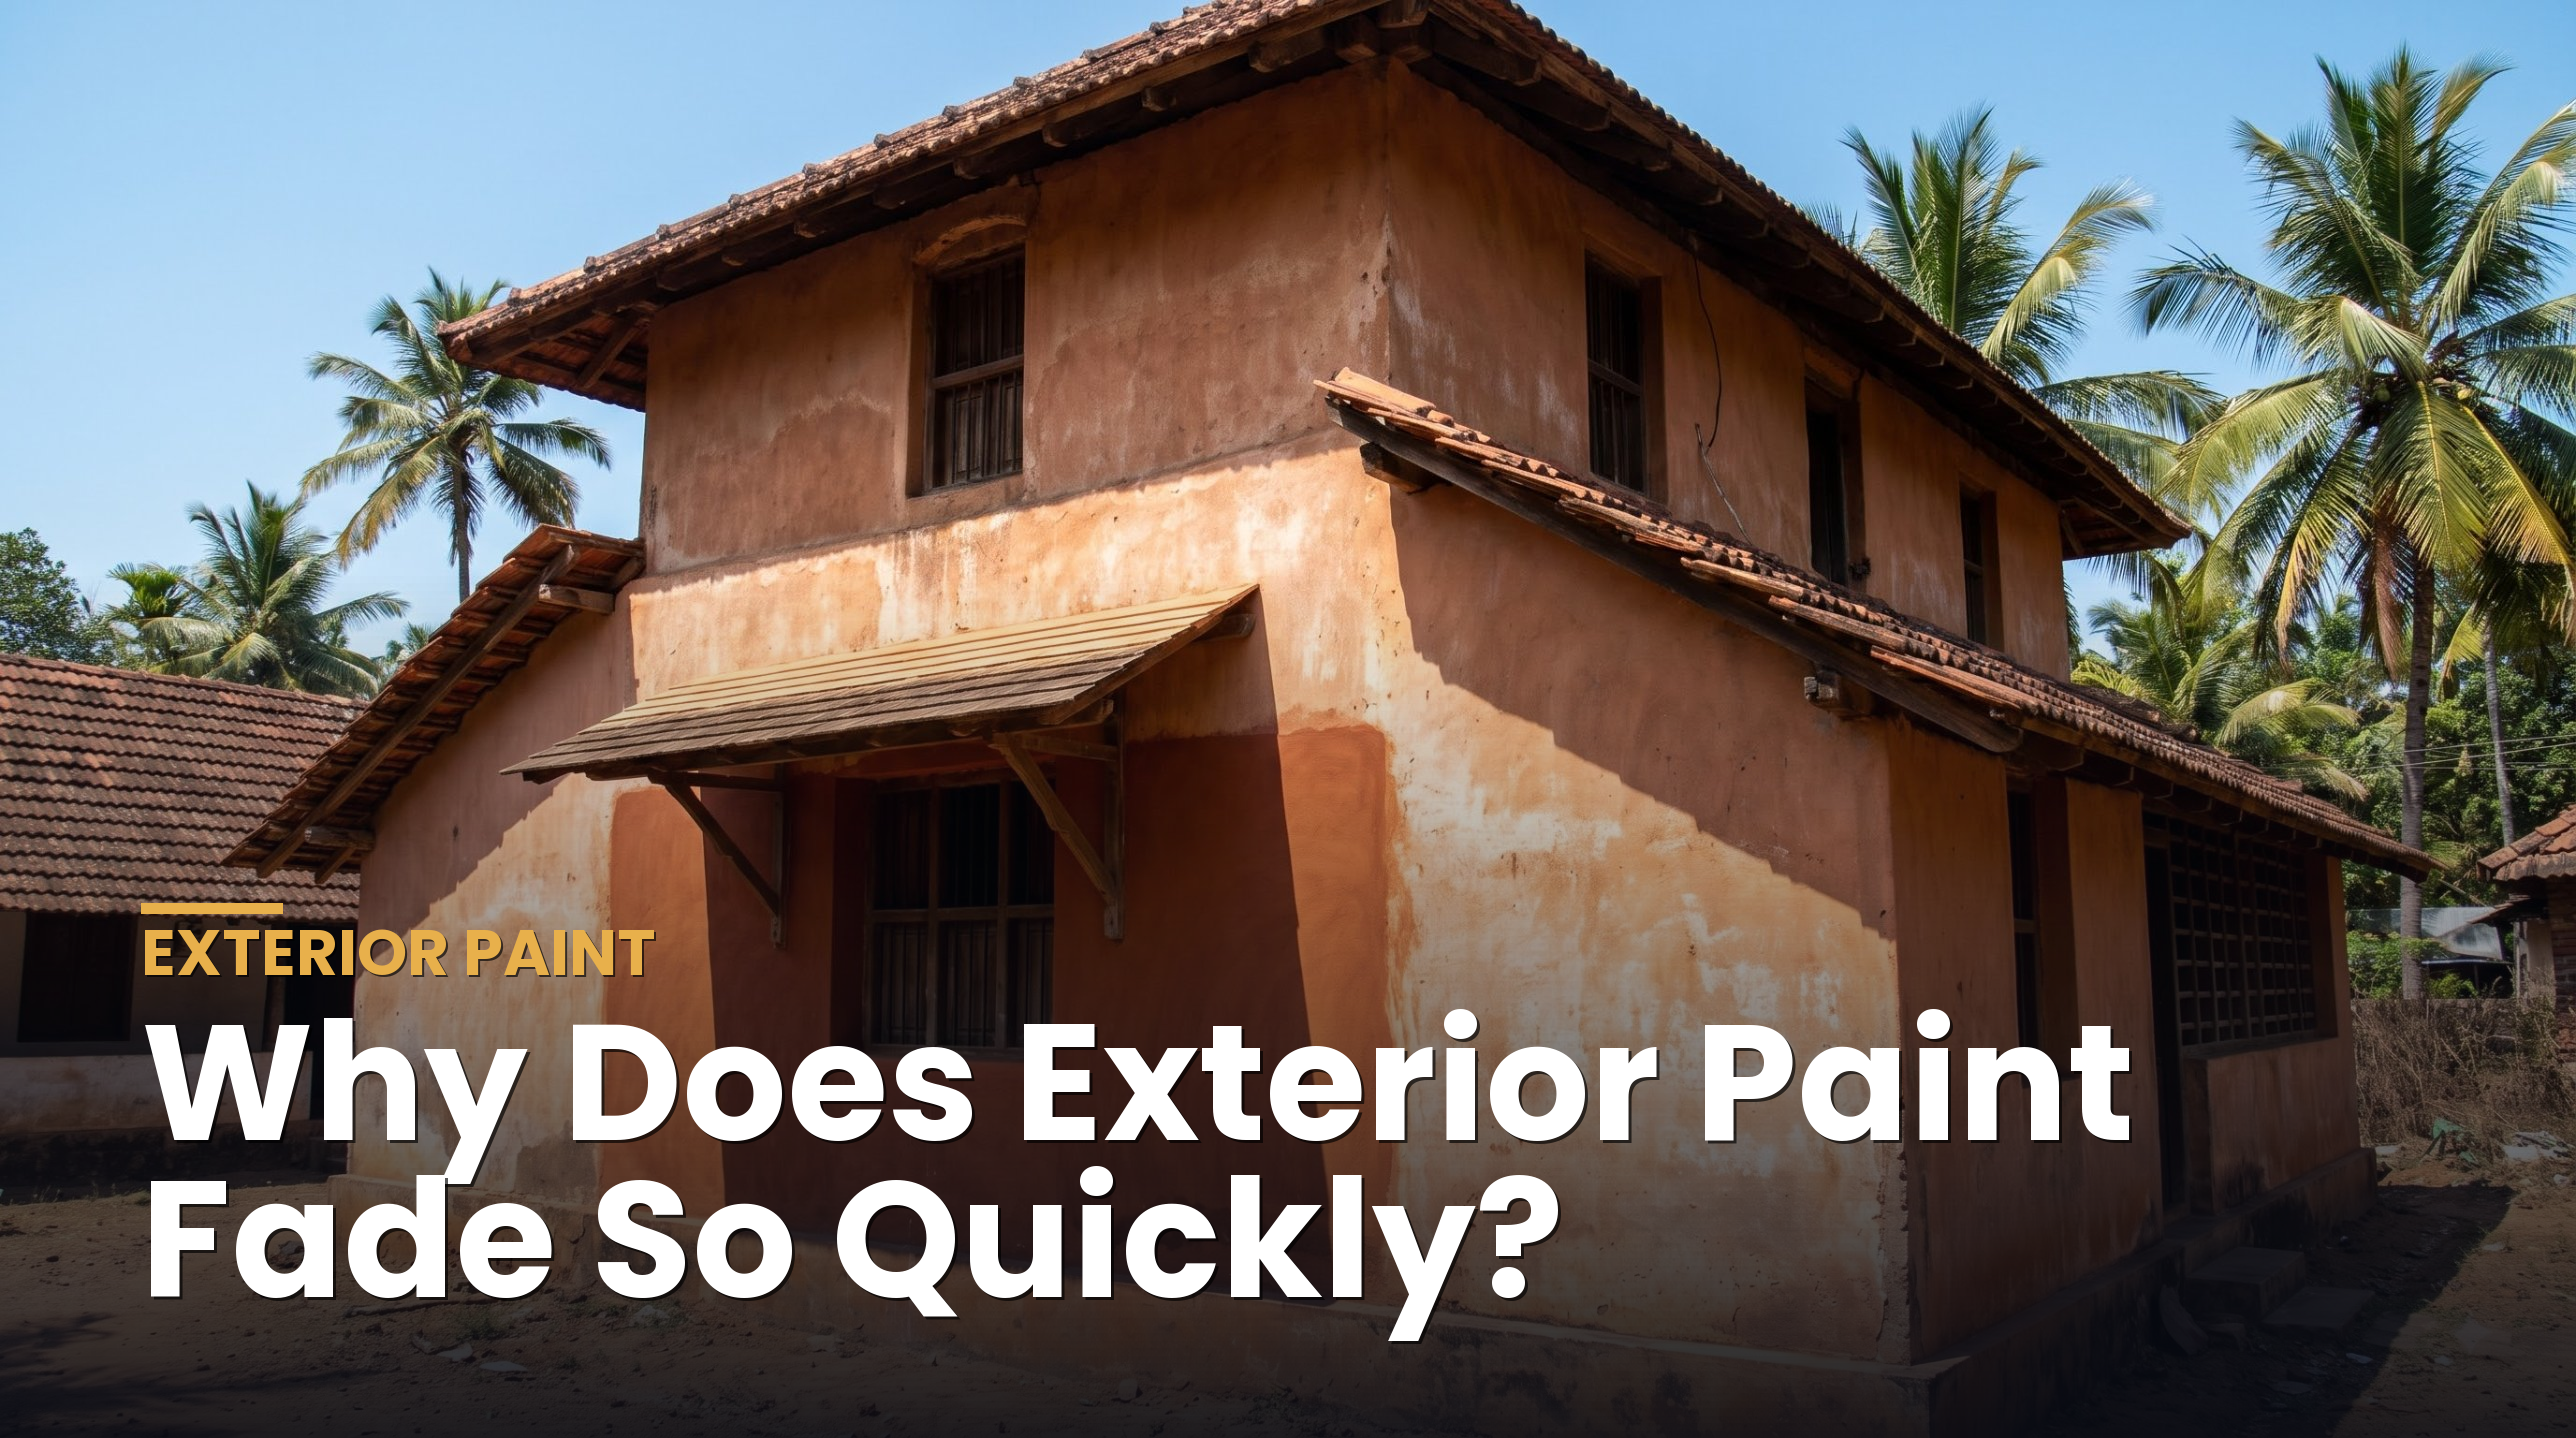
Before your professional painter opens a single tin, your walls need to pass a few honest checks — here’s the 15-point list that saves you cracked, peeling, or damp repaint jobs later.
Short answer: Before painting starts, check your walls for dampness, cracks, algae, and loose plaster; confirm whether putty and primer are needed; protect furniture, floors, and electrical points; and time the job around Kerala’s monsoon and humidity. Skipping these checks is the single biggest reason a fresh coat of paint fails within a year.
Surface & structural checks
Most repainting complaints in Kerala homes don’t come from the paint itself — they come from painting over a wall that wasn’t ready. Humidity, coastal salt, and long monsoons put Kerala walls through more stress than most, so before any painter touches a roller, walk your house and check these first.
- Hairline and settlement cracks. Run your hand along walls and ceilings, especially near door frames and window corners, where shrinkage cracks show up first.
- Damp patches or seepage stains. Look for dull, discoloured patches — usually near bathrooms, terraces, or the base of exterior walls — that signal water is getting in from somewhere.
- Algae or fungal growth. Greenish-black patchy staining on exterior or north-facing walls is extremely common in Kerala’s humidity and needs treatment, not just a fresh coat over it.
- Flaking, peeling, or chalking paint. Rub your palm on the wall — if it comes away powdery, or old paint is lifting at the edges, that layer has to come off before repainting.
- Efflorescence (white salty deposits). A white, crusty bloom on plaster means moisture is pushing salts out from inside the wall — a sign it needs to dry out fully first.
- Wall moisture content. If your house was painted right after monsoon, check that walls are genuinely dry (not just surface-dry) before any primer goes on.
- Loose or hollow plaster. Tap the wall in a few spots — a hollow, drum-like sound means the plaster has detached underneath and needs re-plastering, not painting over.
- Old nail holes and fixture marks. Note every hole from picture frames, calendars, or old fittings so they get filled before the primer coat, not patched awkwardly after.
Protection & timing
Once the walls themselves are assessed, the next checklist is about the house around them — protecting what you own and choosing a window when the paint can actually cure properly.
- Furniture moved or covered. Shift furniture to the centre of the room and cover it with sheets — paint spatter on wood or upholstery is avoidable, not inevitable.
- Flooring protected. Drop cloths or old newspapers along skirting lines save you a weekend of scrubbing dried paint off tiles later.
- Electrical points and switch boards covered. Switch off the mains for the room where possible, and tape over switch plates and socket covers before any primer or paint goes near them.
- Weather and monsoon timing checked. Painting in the middle of Kerala’s monsoon, or on a day of high humidity, is the fastest way to get a patchy, slow-curing finish — check a clear multi-day weather window first.
- Ventilation confirmed. Open windows and, if possible, keep a fan running — good cross-ventilation speeds up drying and clears paint fumes from closed rooms.
Prep, primer & clearing the site
The last three checks are the ones homeowners most often skip — and the ones that decide whether your paint job looks smooth on day one and still looks smooth two monsoons later.
- Putty or wall filler needed? Any wall with cracks, dents, or an uneven surface needs a putty coat and sanding before primer — painting straight over an uneven wall telegraphs every flaw once the topcoat goes on.
- Primer coat needed? New plaster, a colour change, or a wall that’s been repainted many times all need the right primer — it’s what gives the topcoat something even to grip and cure onto.
And one last practical step before the painter arrives: clear the work area completely. Take down curtains and curtain rods, unhook wall décor, and move anything breakable out of the room. A cleared room isn’t just tidier — it’s what lets your painter actually reach every corner without working around your furniture.
| Sign on the wall | What it means | What to do |
|---|---|---|
| Greenish-black patchy staining | Algae or fungal growth, common on Kerala’s humid exterior walls | Clean and treat the surface, then use an anti-algal exterior primer |
| White powdery deposits | Efflorescence — salts pushed out by trapped moisture | Let the wall dry out fully before priming; don’t paint over it |
| Hollow sound when tapped | Plaster has come loose underneath | Re-plaster the patch before any painting begins |
| Fine hairline cracks | Normal shrinkage or surface cracking | Fill with putty, sand smooth, then prime |
| Paint peeling or flaking at edges | Poor adhesion or moisture underneath the old coat | Scrape back fully to a sound surface before repainting |
| Chalky residue on your hand | Old paint layer eroding or powdering | Wash down the wall, let it dry, then apply a fresh primer coat |
Once your walls pass these checks, the right primer does most of the remaining work — sealing the surface, evening out porosity, and giving your topcoat a surface it can actually hold onto through the next monsoon.
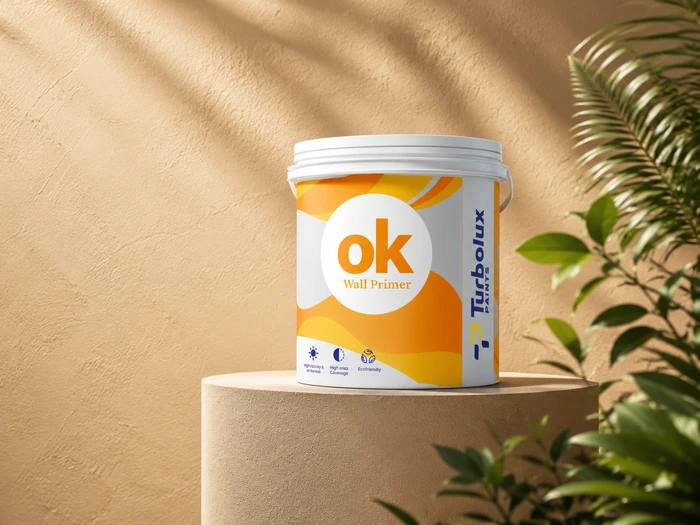
A water-based undercoat for interior and exterior walls that gives an even, sealed surface for your topcoat to grip.
Budget-FriendlyView Ok Wall Primer →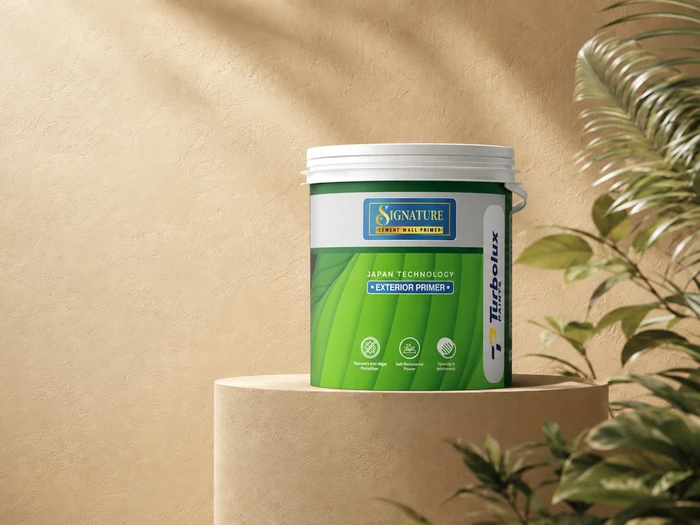
Built with Ceramic Technology for fast drying, anti-algal protection, and 35% salt resistance on exterior walls.
Anti-AlgalView Signature Exterior Primer →Frequently asked questions
How do I know if my wall is dry enough to paint?
The wall should feel cool and dry to the touch with no visible dampness, discolouration, or musty smell, and ideally should have had a few dry, sunny days in a row — especially important right after Kerala’s monsoon season.
Do I need putty before painting if my wall looks fine?
If the surface has any hairline cracks, dents, or unevenness under raking light, a putty coat is worth it — it’s a small step that prevents those flaws from showing through the finished topcoat.
What is the best time of year to paint in Kerala?
The drier stretches between monsoons — broadly December to March, and again in the shorter gap after the southwest monsoon — give paint the best conditions to cure fully without humidity interference.
Should I use a primer on old, previously painted walls?
Yes — even a wall that’s been painted before benefits from a fresh primer coat, especially if the old paint is chalky, has been repainted several times, or you’re changing colour.
How long should I wait after monsoon to start exterior painting?
Give exterior walls at least a few weeks of clear, dry weather after heavy rain before painting, so any moisture that’s soaked into the plaster has time to fully evaporate.
Get your walls ready, then get in touch
Run through this checklist first, and your painter’s job — and your paint’s lifespan — both get a lot easier.
Find a Turbolux dealer →90728 26662 · [email protected] · Happy walls in just a stroke.