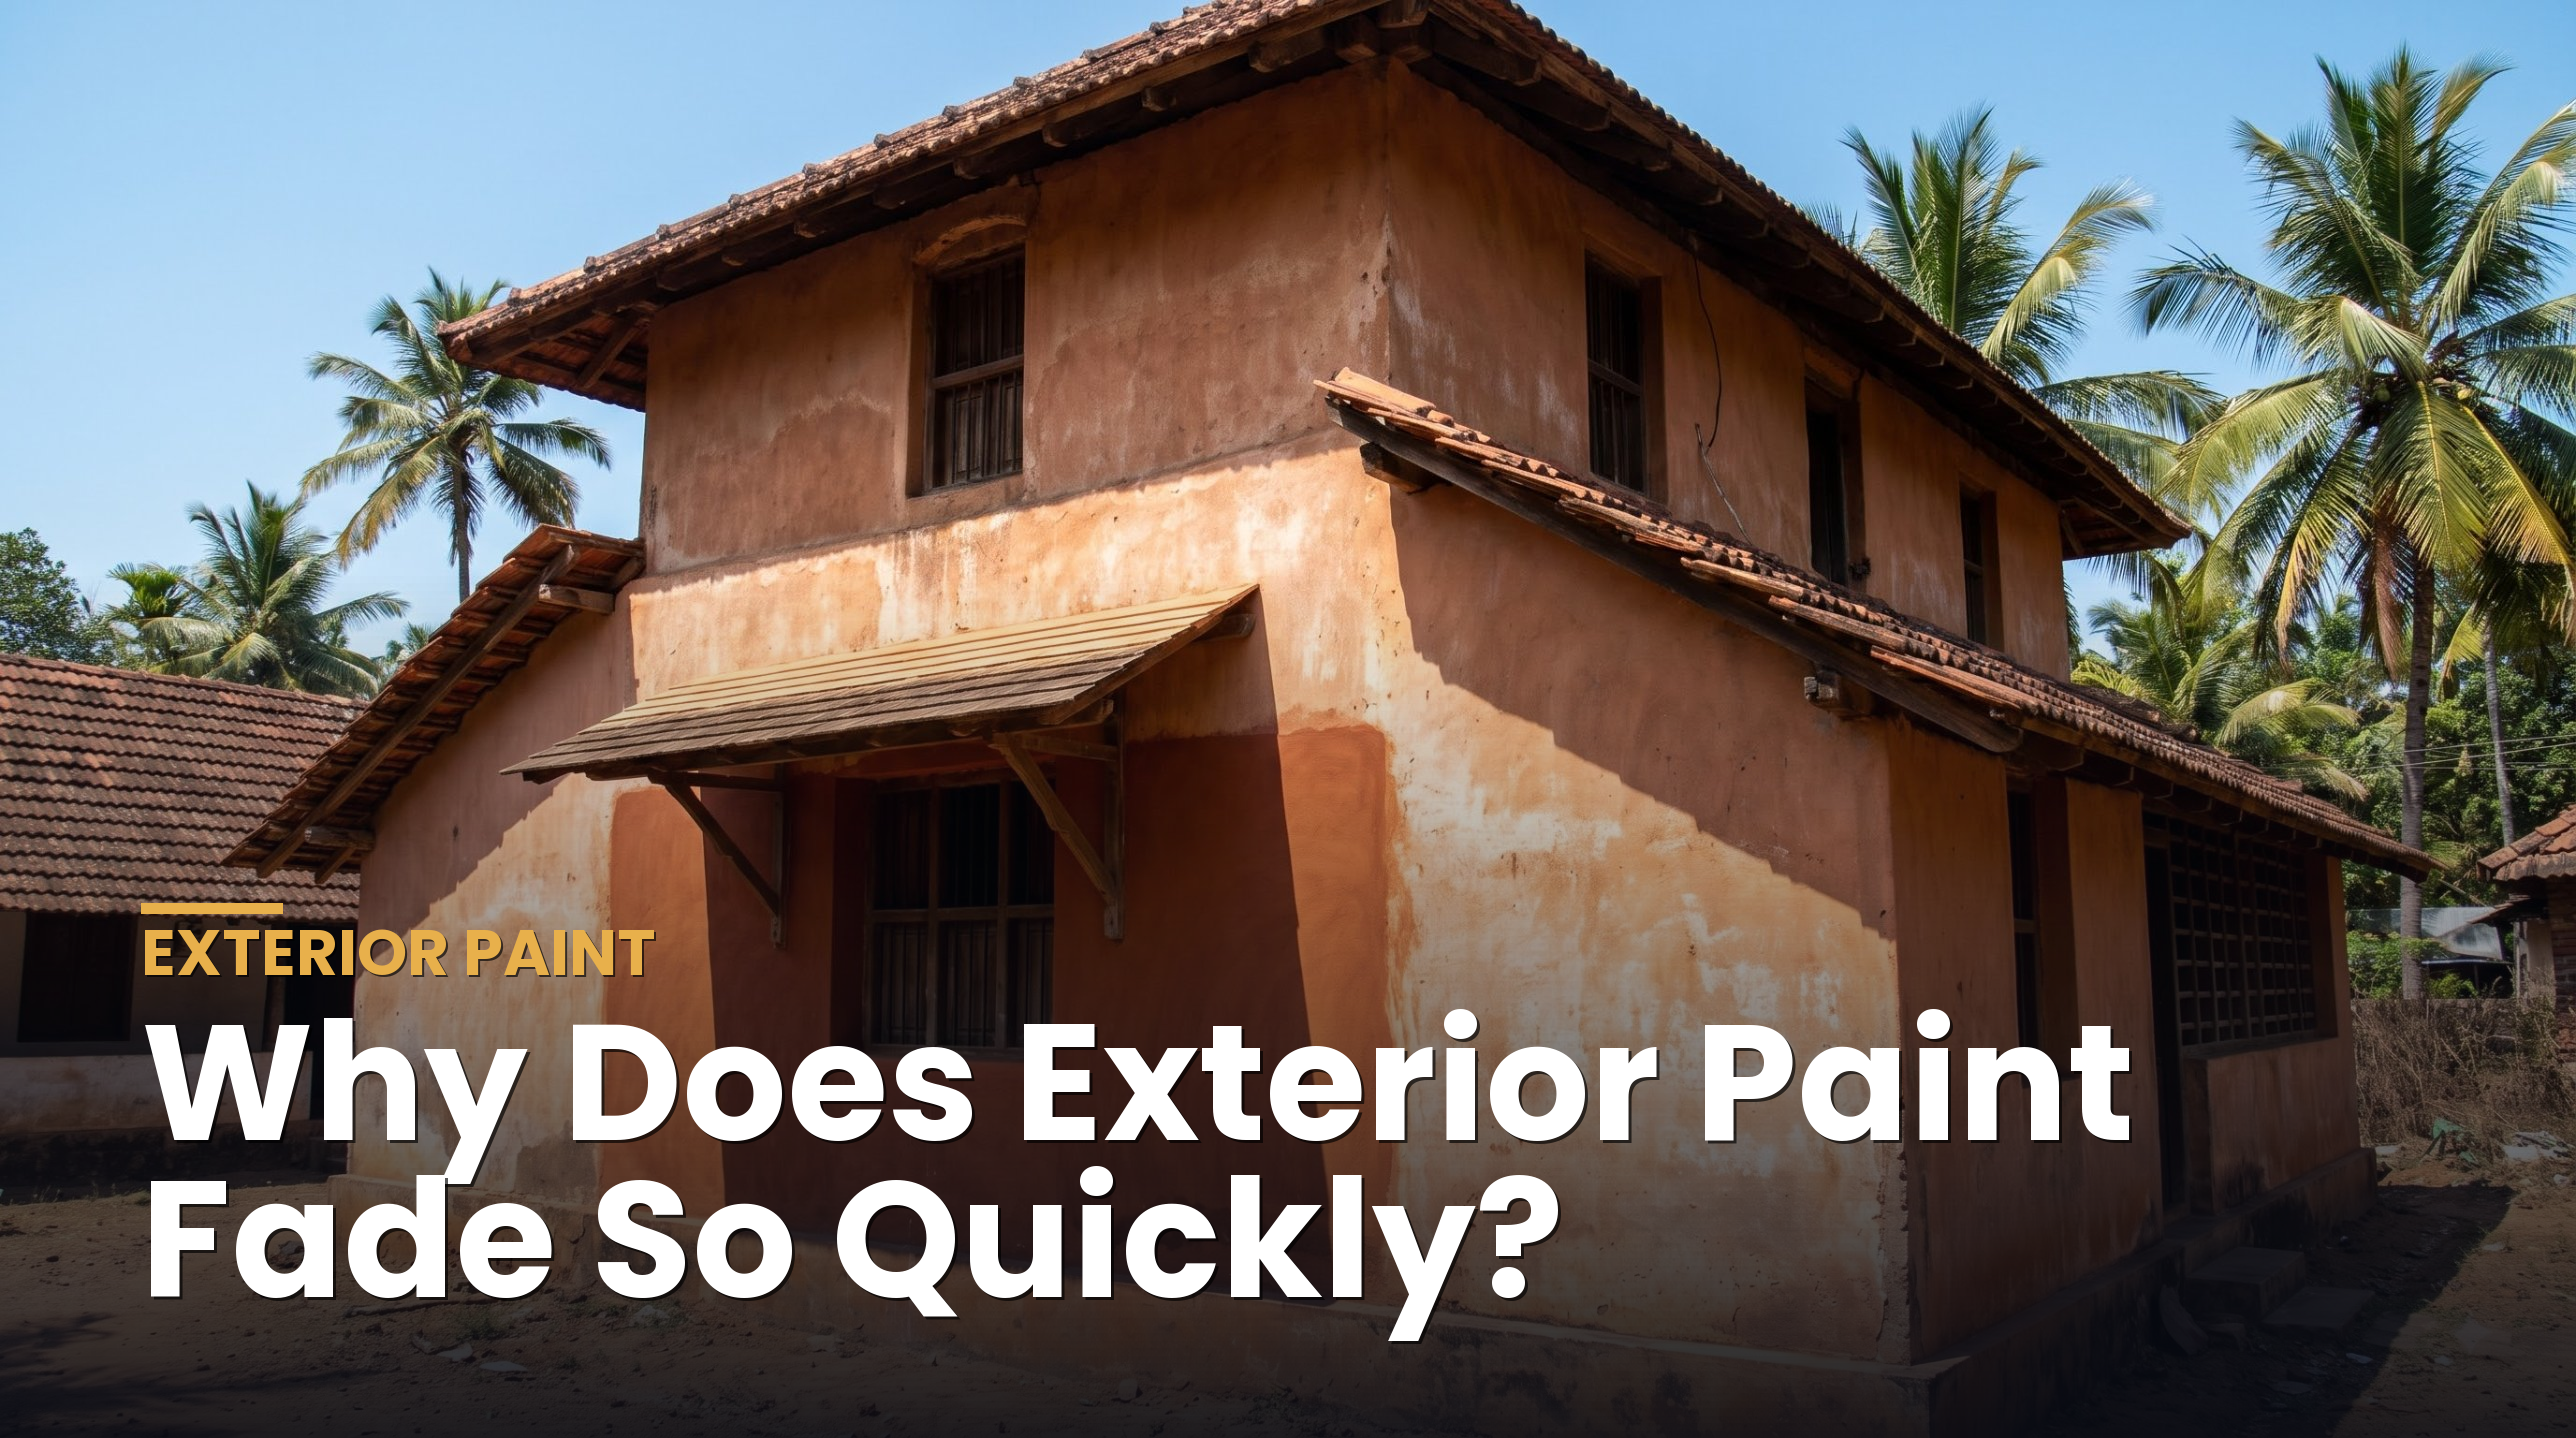
New paint looks patchy when the wall absorbs it unevenly or the film goes on unevenly. Almost every case traces back to one of eight causes, and most are fixed with a primer and one more careful coat.
Short answer: New paint looks patchy when parts of the wall soak up the paint faster than others, or when the paint film ends up thicker in some places than in others. The most common causes are skipping primer over fresh putty or plaster repairs, applying too few coats, thinning the paint too much, and rolling over paint that has already started to dry. Wait at least 24 hours before judging, because emulsion looks uneven while wet. If the patches remain, spot-prime the dull areas, then apply one full, even coat across the whole wall, corner to corner.
Below are the eight causes we see most often on Indian walls, how to spot each one, and the fix that works.
Is it patchy, or is it still drying?
Water-based emulsion changes as it dries. A freshly painted wall usually shows darker and lighter zones for the first few hours, simply because some areas have released their water faster than others. In humid weather this stage lasts longer.
- Wait 24 hours before deciding the finish is patchy. In the monsoon or on a cold, shaded wall, give it 48 hours.
- Check in daylight and at an angle. Look along the wall from one end, not straight at it. Real patchiness shows as dull and shiny zones, or as blotches of slightly different shade.
- Turn off the tube light. Harsh overhead light exaggerates small sheen differences that nobody notices in normal use.
If the patches are still visible the next day, the paint has dried unevenly and one of the causes below is at work.
What are the 8 causes of patchy paint?
1. No primer over putty, filler or new plaster
This is the most common cause by far. Wall putty, crack filler and fresh plaster are far more absorbent than the areas around them. The first coat of emulsion sinks into these spots and dries flat and dull, while the rest of the wall keeps its sheen. Painters call this “flashing”. A coat of primer seals the whole wall to one even porosity, so the topcoat dries the same everywhere. Our guide on whether you really need a primer explains why this step pays for itself.
2. Spot repairs that were never spot-primed
On a repaint, the painter often fills a few cracks or nail holes and paints straight over them. Each repair shows up later as a dull square or circle. The fix is simple: prime every repaired spot before the full coats go on.
3. Too few coats
One coat of emulsion rarely hides the surface fully, especially when going from a dark or bright colour to a light one, or when painting white over a coloured wall. The old colour ghosts through in patches where the roller laid less paint. Two full coats is the minimum; a strong colour change can need three.
4. Paint thinned too much
Adding extra water makes paint easier to roll and seems to make it go further, but it thins the film and cuts hiding power. Over-thinned paint dries streaky and translucent. Always follow the dilution given on the pack, and add the same amount of water to every tin so each batch behaves the same.
5. Rolling over paint that has started to dry
Emulsion begins to set within minutes on a warm wall. If the painter stops mid-wall, or goes back to “touch up” an area that is already tacky, the overlap gets a double layer and dries as a visible band or blotch. These are called lap marks. The cure is to keep a wet edge: finish one full wall in one go, working in sections from top to bottom, and never go back over a drying area.
6. Paint from different tins or batches
Tinted colours can vary very slightly from one tin to the next. If one wall is started with a new tin halfway across, the change can show. Mix all the tins of the same colour together in one large bucket before starting (this is called boxing), or at least change tins at a corner, never in the middle of a wall.
7. A damp or unevenly dry wall
Where moisture sits in the wall, paint dries slower and often slightly darker. On exterior walls you will see patches after rain; inside, they appear near bathrooms, below windows and at skirting level. Patchiness from damp will not go away with another coat. The moisture source needs fixing first. See our guide on stopping wall dampness and seepage.
8. Touch-ups with a different sheen or a different product
Touching up a satin wall with a matt paint, or even the same paint applied with a brush instead of a roller, leaves a spot that catches the light differently. For touch-ups, use the same product, the same tool, and feather the edges out thinly.
How do you tell which cause you have?
| What you see | Most likely cause | What to do |
|---|---|---|
| Dull, flat spots in the shape of filled cracks or holes | Unprimed putty or filler | Spot-prime the repairs, then one full coat |
| Old colour showing through in cloudy areas | Too few coats or poor hiding | Prime if changing colour a lot, then another full coat |
| Vertical or horizontal bands, often roller-width | Lap marks from rolling over drying paint | Light sanding, then a full coat with a wet edge |
| Streaky, see-through finish over the whole wall | Paint over-thinned | Another coat at the correct dilution |
| A clear line where the shade changes | Different tins or batches | Box the paint and recoat the full wall |
| Darker patches that come and go with the weather | Moisture in the wall | Fix the damp first, let it dry, then repaint |
| Small shiny or dull spots after touch-ups | Mismatched sheen or tool | Recoat the whole wall, corner to corner |
How do you fix patchy paint, step by step?
- Let the paint cure. Give the wall at least 24 hours, longer in humid weather, so you are fixing real patches and not wet paint.
- Rule out damp. If the patches are darker and sit low on the wall or near a bathroom, deal with the moisture before anything else.
- Lightly sand lap marks and ridges. Use fine sandpaper (around 220 grit) to flatten any raised bands, then wipe off the dust with a damp cloth.
- Spot-prime the dull areas. Brush or roll primer over every repair, putty patch and flat spot so they stop soaking up the topcoat.
- Box your paint. Mix all tins of the colour together, diluted to the ratio on the pack.
- Apply one full coat, corner to corner. Never patch-paint only the bad areas. Load the roller well, work in sections about one metre wide from top to bottom, and finish the whole wall without stopping.
- Check in daylight the next day. If the old colour still shows, apply one more full coat.
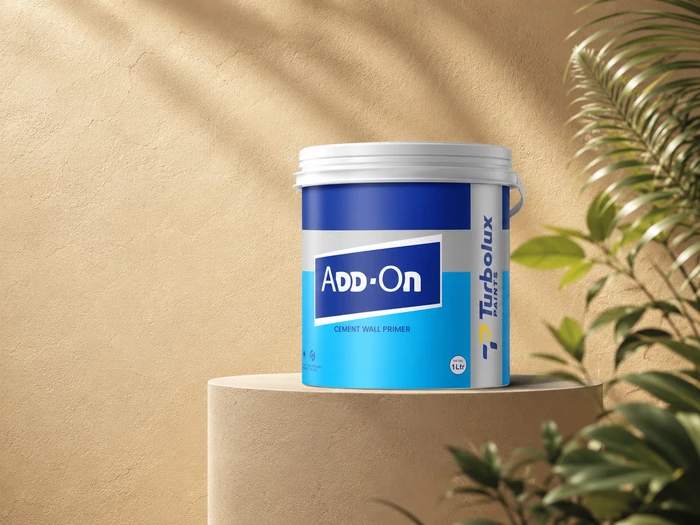
A dense, even primer base for interior and exterior walls, so patchy plaster, old colour and repair marks stop showing through the topcoat.
Primer · Interior & exteriorView Add-On →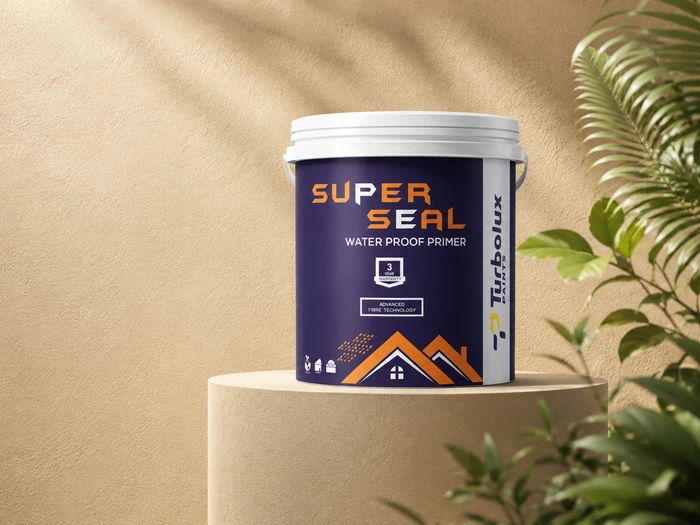
A premium acrylic primer on fibre technology. Its extra-white, high-opacity film lifts topcoat coverage by 15 to 20% and resists damp and efflorescence.
Primer · 3-year warrantyView Super Seal →How do you stop patchy paint on your next job?
- Prime every new or repaired surface. This one step prevents most patchy finishes. On new plaster, follow our guide on preparing new plaster for painting.
- Plan for two full coats minimum, and three when making a big colour change. Our article on how many coats a wall needs has the detail.
- Use a good-coverage emulsion. Paints with higher opacity hide the surface in fewer coats, which leaves less room for patches.
- Buy enough paint for the whole job at once and box it, so every wall comes from the same mix.
- Paint in the right conditions. Avoid direct midday sun on exterior walls and very humid days inside. Both make paint dry too fast or too unevenly.
- Finish one wall before taking a break. Stopping at a corner, never mid-wall, is the simplest way to avoid lap marks.
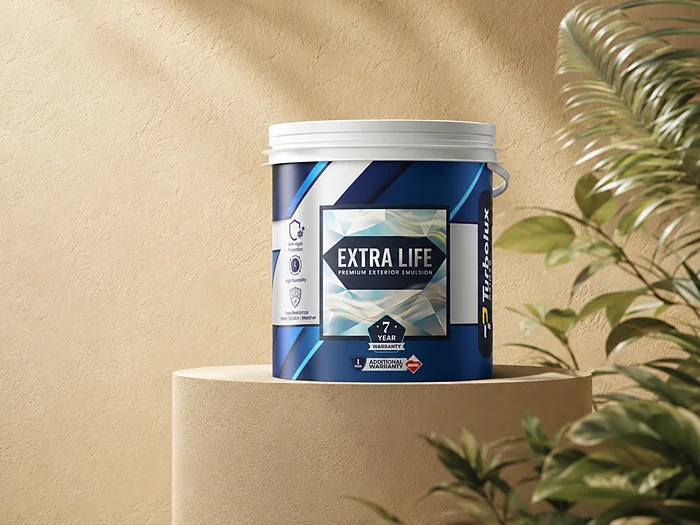
A semi-gloss exterior emulsion on DURASHIELD Technology with 120 to 135 sq ft per litre on the first coat and advanced dirt pick-up resistance.
Semi-gloss · 8-year warrantyView Extra Life →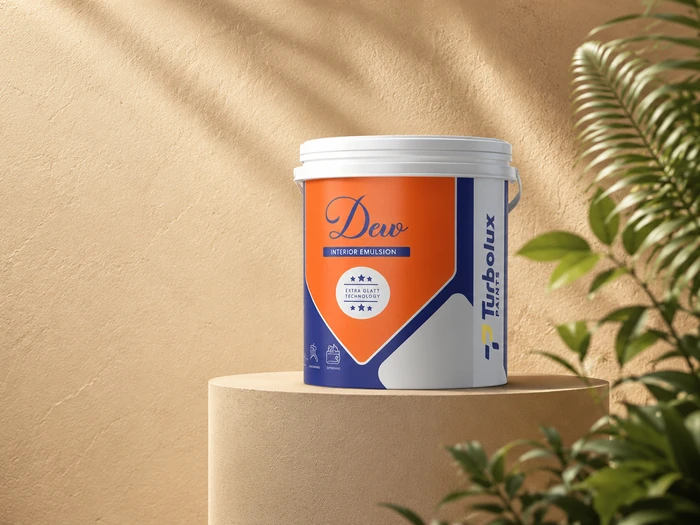
An interior emulsion with excellent whiteness and a soft sheen. GLATT Technology lets the film level out as it dries for an even, durable finish.
Interior sheen · 1,260 shadesView Dew →Frequently asked questions
Will another coat fix patchy paint?
Often, yes, if the cause is too few coats or thin paint. But if the patches come from unprimed putty or filler, spot-prime those areas first, otherwise the new coat will flash in exactly the same places.
Why does my paint look patchy after it dries?
Because parts of the wall absorbed the paint differently, or the paint went on at different thicknesses. Unprimed repairs, lap marks from rolling over drying paint, and too few coats are the usual reasons.
Can I touch up just the patchy spots?
It rarely works. Touch-ups tend to show as their own patches because the sheen and thickness differ. Recoat the whole wall from corner to corner for an even finish.
How long should I wait before deciding the paint is patchy?
At least 24 hours for water-based emulsion, and up to 48 hours in humid or monsoon weather. Paint looks uneven while it is still drying.
Why does white paint look patchy more often than colours?
White and pale shades hide less of what is underneath, so any old colour, stains or repairs ghost through. Use a primer and plan for two or three full coats when painting white over a coloured wall.
Get an even finish the first time
Ask your nearest Turbolux dealer for the right primer and emulsion for your wall.
Find a Turbolux dealer →90728 26662 · [email protected] · Happy walls in just a stroke.